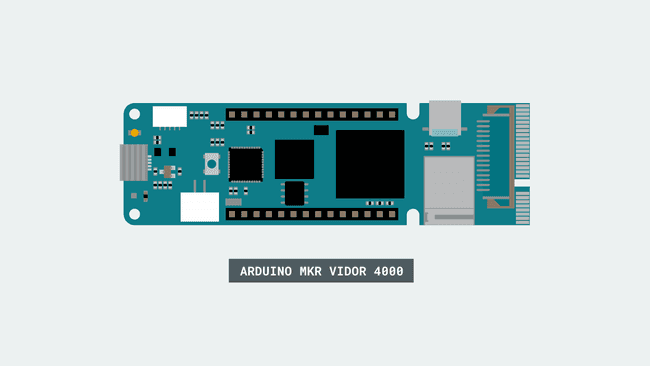
Enable Camera on MKR Vidor 4000
Enables the video stream from a camera to an HDMI monitor, using the MKR Vidor 4000 board.
This example activates a compatible camera connected to the MIPI Camera Connector and routes the image in real time to the microHDMI connector. It is a very basic example that shows how simple may be the usage of the advanced features of the Arduino MKR Vidor 4000 board.
Hardware Required
- Arduino MKR Vidor 4000
- Omnivision OV5647 camera
- microHDMI to HDMI cable or adaptor
- Monitor with HDMI input
Circuit
There is no circuit for this example.

Code
Include the VidorCamera library, which is part of VidorGraphics.
#include "VidorGraphics.h"#include "VidorCamera.h"You have a number of functions available to create and manage the camera stream.
- initialize objectVidorCamera()
- initialize cam and starts streaming; return 0 if failedint begin()
- stops streaming and shutdown cameraint end()
- explicitly enable streamint enableStream()
- exclicitely disable streamint disableStream()
- detect the attached camera modelint modelDetect(void)
In our example we create the object
vcamvcam.begin()When the video stream is active and it is routed to the HDMI port, you can stop the video opening the serial monitor and typing STOP. This activates the
vcam.end();The complete sketch is below and you find it in the examples from Libraries, under VidorGraphics :
1#include "VidorGraphics.h"2#include "VidorCamera.h"3
4VidorCamera vcam;5
6void setup() {7
8 Serial.begin(9600);9
10
11
12 // wait for the serial monitor to open,13
14 // if you are powering the board from a USB charger remove the next line15
16 while (!Serial) {}17
18 if (!FPGA.begin()) {19
20 Serial.println("Initialization failed!");21
22 while (1) {}23
24 }25
26 // begin() enables the I2C communication and initializes the camera27
28 if (!vcam.begin()) {29
30 Serial.println("Camera begin failed");31
32 while (1) {}33
34 }35
36 delay(4000);37
38 Serial.println("Power On");39
40 // The camera should be on now, streaming to the HDMI output41}42
43void loop()44{45
46 // Wait for the user input to stop the camera47
48 String res = Serial.readStringUntil('\n');49
50 if (res.indexOf("STOP") > 0) {51
52 vcam.end();53
54 }55}Last revision 2018/07/22 by SM
Suggest changes
The content on docs.arduino.cc is facilitated through a public GitHub repository. If you see anything wrong, you can edit this page here.
License
The Arduino documentation is licensed under the Creative Commons Attribution-Share Alike 4.0 license.